RV’ing In Southern Oregon Fall 2024
By Paul Wesner, Vintage Trailer Land
My jaw dropped as I read a recent forum post by a couple who were proud owners of a brand-new motorhome. They’d carefully chosen a quality brand and even paid for a professional third-party inspection before dropping the big bucks. But on their first weekend outing, rainwater leaked inside the coach in two places! Oh, the horror!
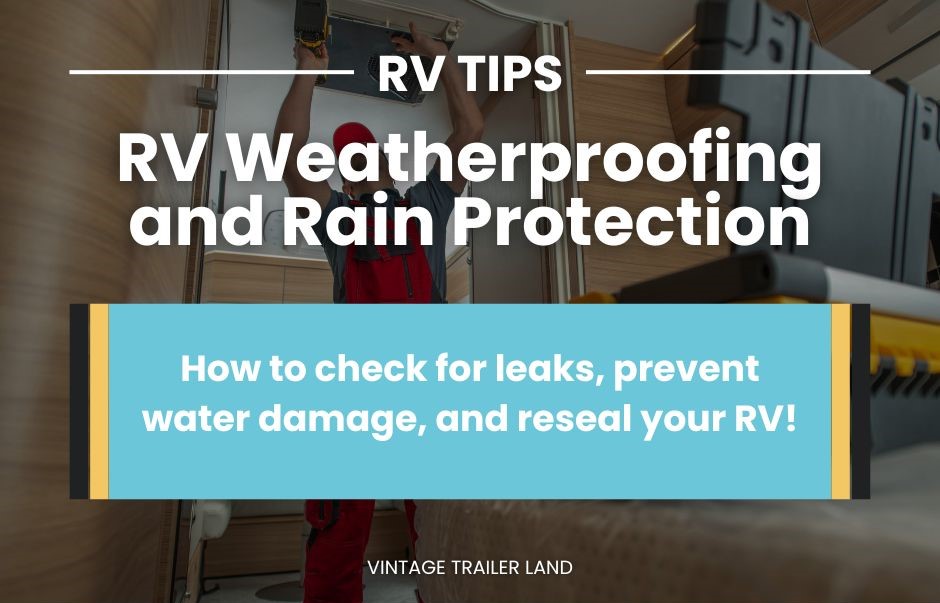
Protecting our roofs from water intrusion is important because moisture leads to mold, rot, and expensive repairs. Through years of exposure RV roofs take a beating from nature’s elements. So if they don’t come with leaks (and they’re not supposed to), they will develop leaks over time. Let’s take a look at preventative maintenance on the top of your RV.
Determine your roofing material. Your owner’s manual should tell you this information. If not available, you will need to inspect and do your research. Common materials are sheet metal (steel or aluminum), rubber membrane (EPDM or TPO), laminated/bonded fiberglass (filon), proprietary products (Alpha), or something else. It’s imperative to know your roofing type to know how to repair or reseal it properly. Using the wrong sealant may create more problems and more work, as some products chemically-react (adversely) to others, and some will not bond to surfaces or stick to existing sealants.
Roof Coating. Your travel trailer will enjoy many more years of roof life by applying a proper RV coating, usually by rolling/brushing or mopping a thick, syrupy liquid on top. Be sure to do your research and find a coating that is specific to your type of roofing material. Don’t use Aunt Jemima.
Roof-to-Wall Juncture. The roof edge, i.e. the corner where the roof meets the sidewalls, is a major place for potential water leaks, especially if there is a seam. If there is, there will be a trim piece along that top edge (it will be some type of drip edge, j-rail, awning rail, gutter, etc.). The epoxy behind it, usually butyl putty, should be checked for decent pliability. If rigid or crumbly, replace. I’ve heard a few slang terms used for this villainous putty; none are appropriate to repeat.
Skylights & Ceiling Vents. Check for cracking and hairline cracking; not only in the middle of the covers, but also along the edges where water intrusion will most likely start, and will least likely be noticed. Replace and reseal as necessary. Be careful where you step on the roof so you don’t accidentally create a new skylight.
Plumbing Vents. These “caps” are sometimes missing because they get weathered and fly off while driving. Replace if missing or brittle. If intact, check the caps for cracks and bases for failing sealant. But also handle them for rigidity and soundness. Most are made of PVC and, although look intact, may crumble into pieces with a little nudging. You didn’t know you were so strong.
Obsolete Components. Archie Bunker isn’t staying in your RV. The old television antenna or satellite dish may still be on the roof, but their only purpose is to provide another place of water entry. Remove, patch, and seal over. This is also true for the CB antenna, good buddy!
The RV industry continues to improve materials for keeping out rainwater, including building products, sealants, epoxies, and more. Perhaps one day we won’t even need to inspect and reseal our new RVs. In the meantime, it is crucial to use quality products made specifically for the RV industry, and avoid household caulking, silicone, spray-on types, mobile home coatings, and duct tape (especially when applied with beer).
Since rain can get through some unexpected places, be sure to protect your travel trailer/RV with these handy tips or take it to a professional. Repair shops, including Vintage Trailer Land, are here to seal and serve. Sing in the rain and Happy Camping!